Jhon Rangel Ardila
Lead maintainer


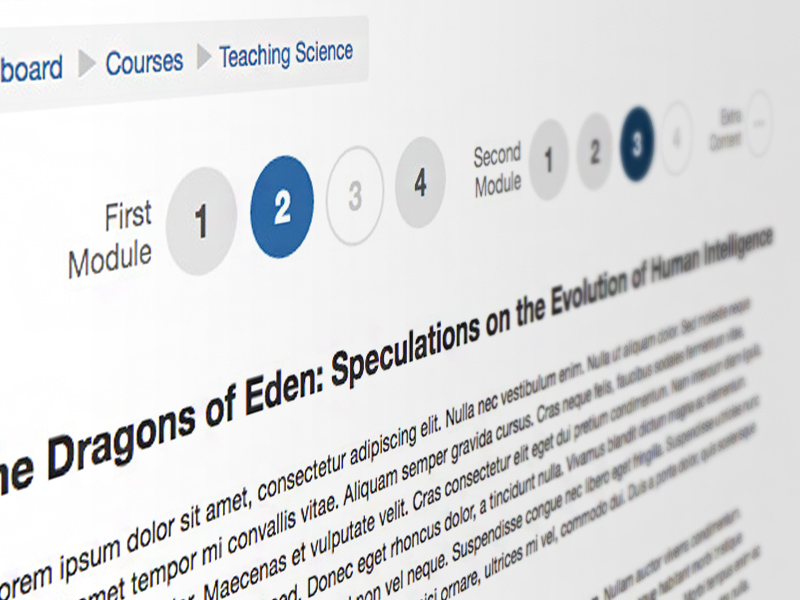
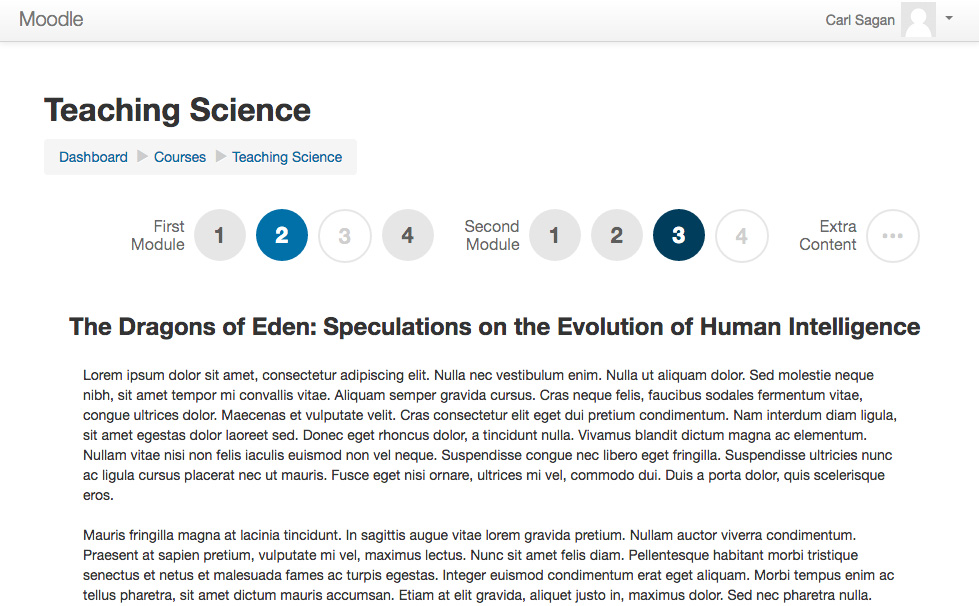
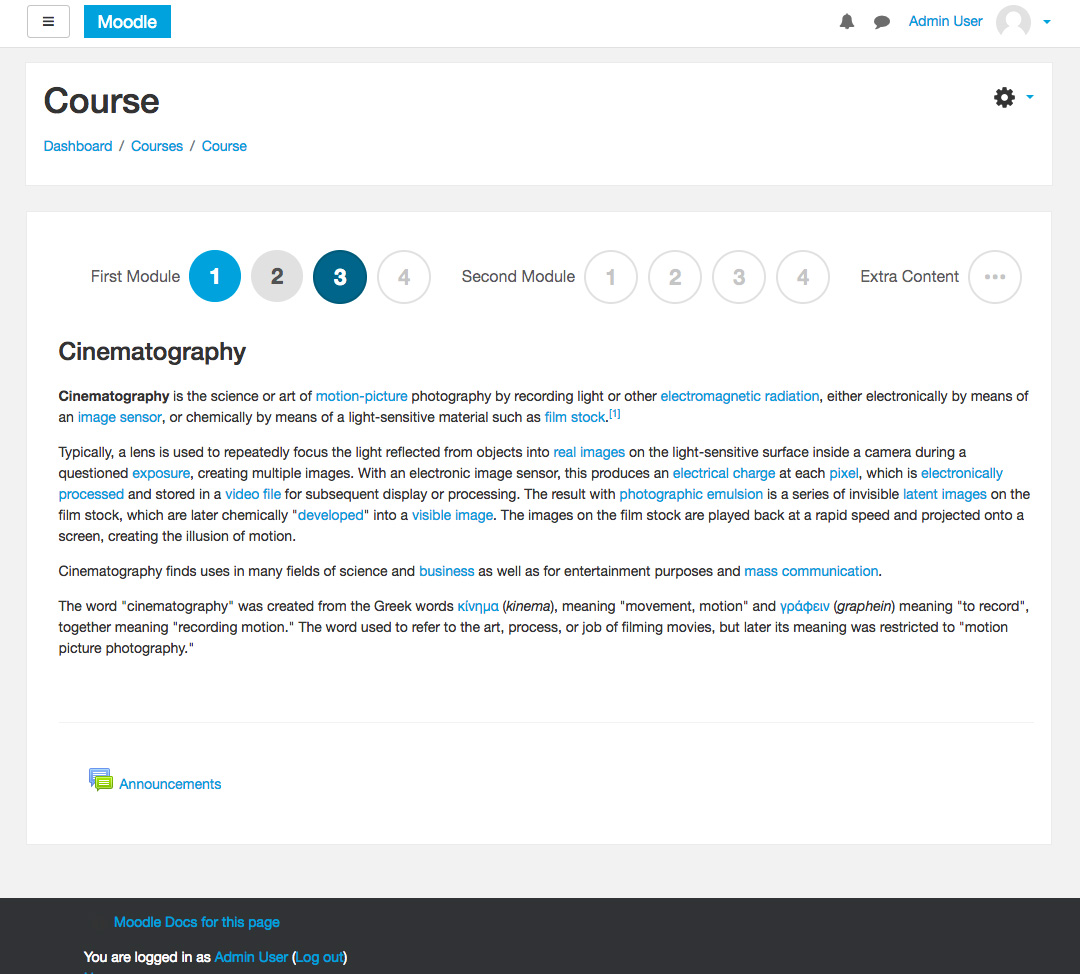


Buttons is a course format that creates a menu with buttons to access the sections, one by one.
* Create groups of sections, to separate topics in modules or periods;
* Create names to the groups to identify them. (Example: First Semester, Topics about a specific theme);
* Change the colors of the buttons (when active, inactive, on over and hidden), to fit it your Moodle theme;
* Define the list-style between numbers, alphabet or roman numeral;
* Define the button's shape between squares or circles.
* For recent Moodle versions, you can install this plugin automatically from the Moodle plugins database.
1. You can manually download the zip file from the Moodle Plugins Database.
2. After downloading the zip file, expand it and put it's contents in your .../moodle/course/format/ directory.
3. The folder name must be 'buttons'.
4. Go to 'Admin - Site administration - Notifications' page.
5. Follow the instructions inside the page to finish the installation.
1. When creating a new course, select 'Buttons format' in the 'Course format' dropdown menu.
2. To select the format, simply choose it from the list of course formats in the course settings.
3. Choose the number of sections, or leave the default of 10 sections.
4. Choose where you want the first (zero) section (which has the default 'Announcements' forum) positioned: Either 'Above the list buttons' or 'Below the visible section'.
5. Select the sequential rule. You can uses the count original of the topics, or chose to reset the count to each new grouping.
6. Select the list-style in numbers, alphabet or roman numeral.
7. Write the titles for all the groupings you will use and the number of sections that each one will have. If a group has only one section, the icon will be (...).
8. Write the hexadecimal color for the current section button and the visible section button, or leave it empty to use the default value.

