Jesus Federico
Lead maintainer

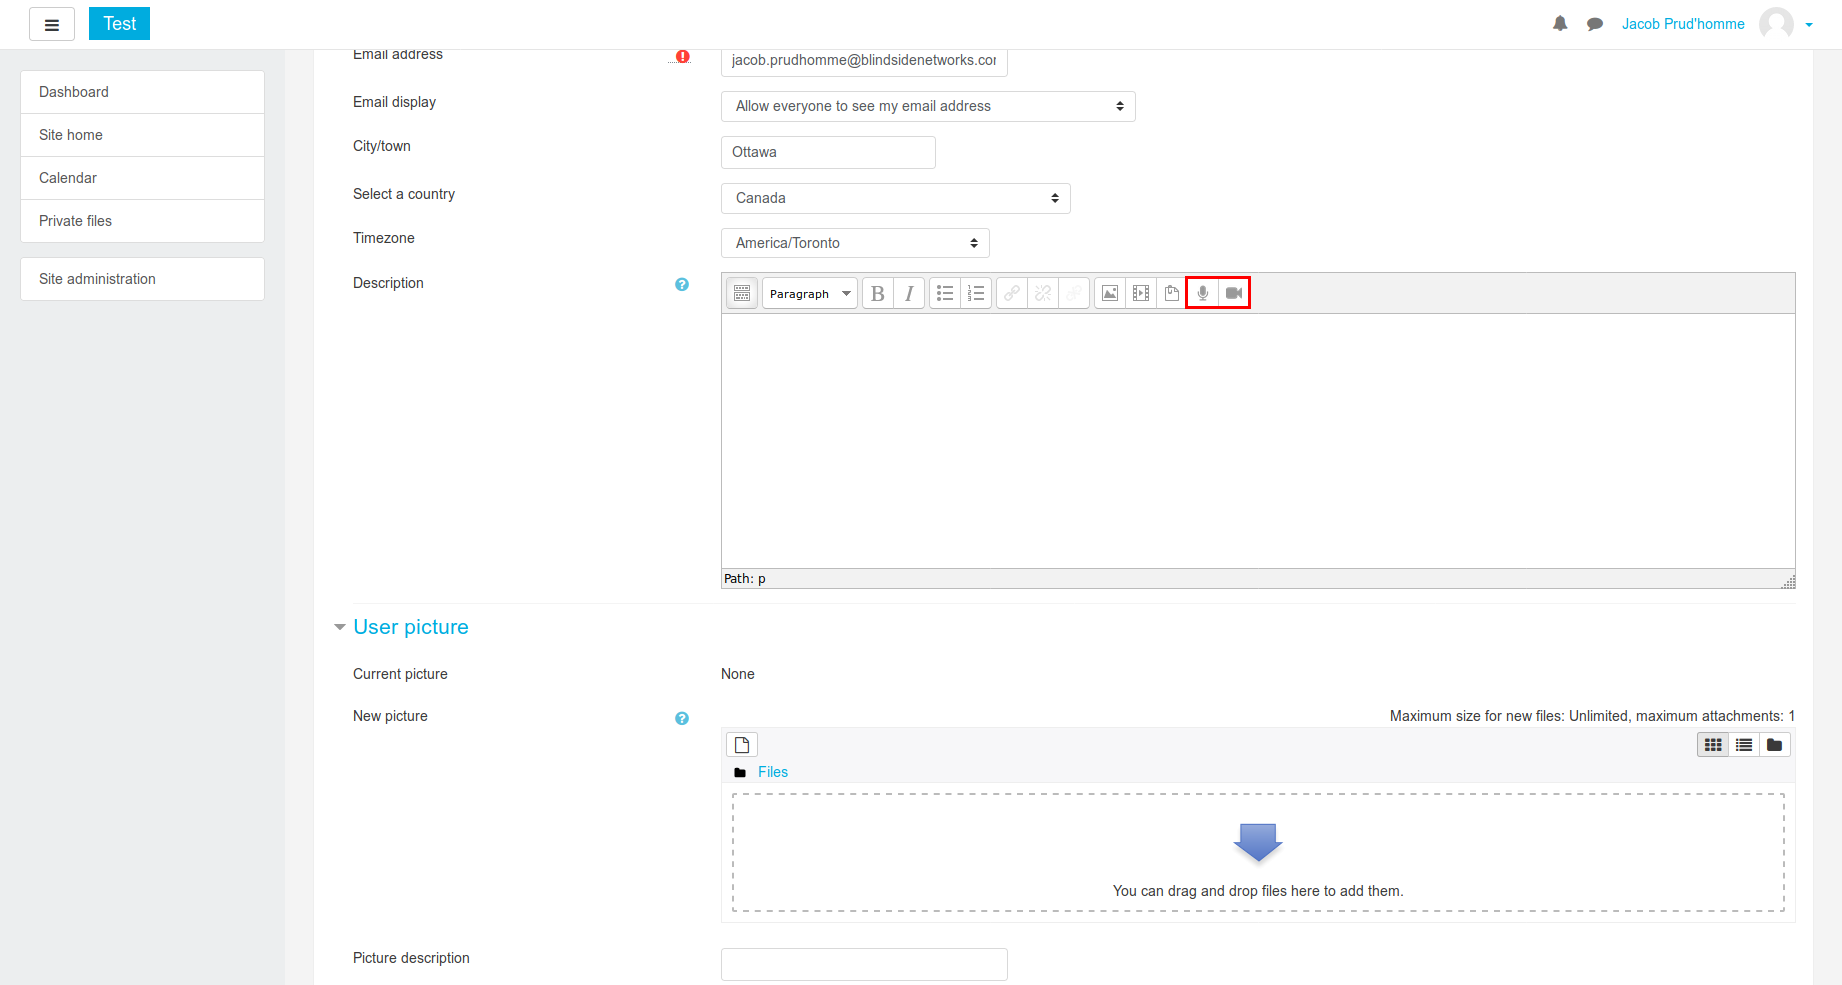
Add audio and video annotations to text, anywhere a TinyMCE text editor is present. This plugin adds buttons for recording audio or video (with audio) to the editor's toolbar. 
Using WebRTC technologies, all recording is done instantly in the browser. After recording, users can embed the annotation directly into the text they are currently editing. The recording will appear as an audio or video player in the published writing.
There are several ways to install the plugin/ We describe here the easiest and more reliable one which is through Moodle plugin directory. Two more methods are described in the wiki page installation section.
After the installation starts, just follow the steps. The plugin will work with the defaults, but you may want to go back and change them depending of your requirements. Details about the configuration can also be found in the wiki page configuration section.
To use the plugin, just click on one of the recording buttons (either the microphone or the video camera), and a popup will appear with a big "Start Recording" button. When clicked, the browser will probably ask for permission to use the webcam/microphone.

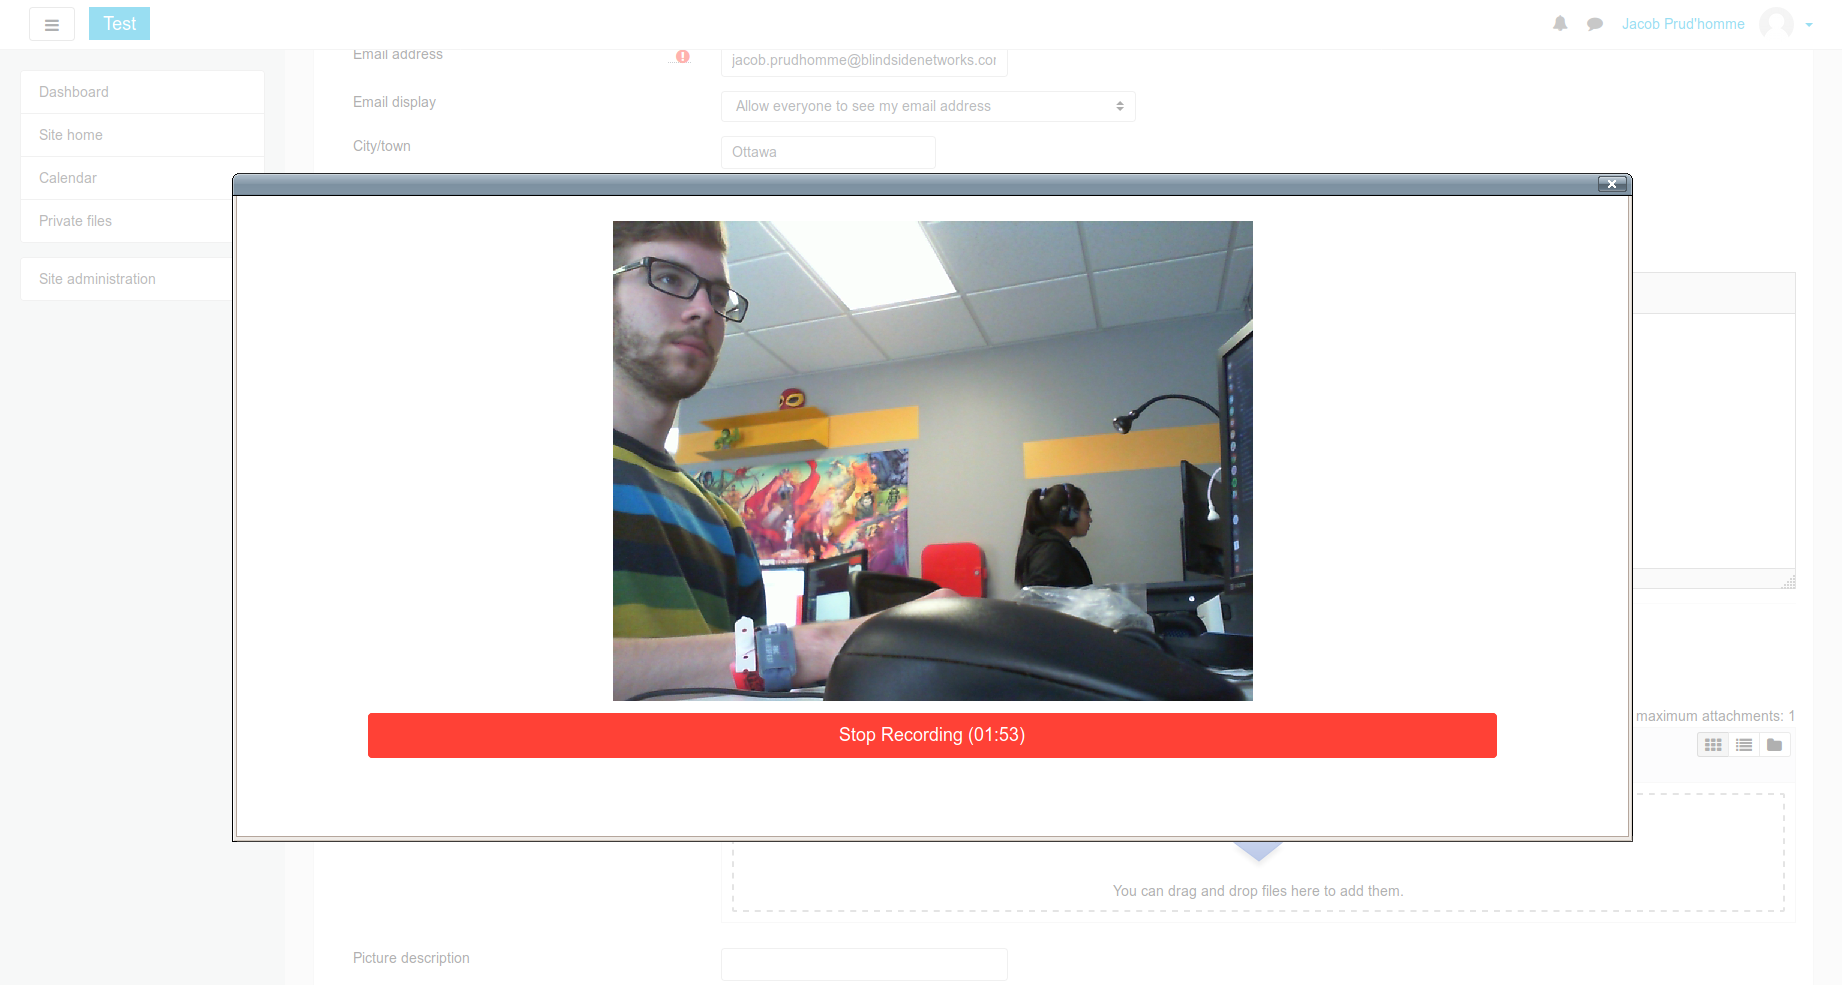
After the recording starts, a timer will begin counting down, indicating how much time is left to record; when the timer hits 0, the recording will automatically stop (this will also happen if approaching the maximum upload size determined in the server settings).

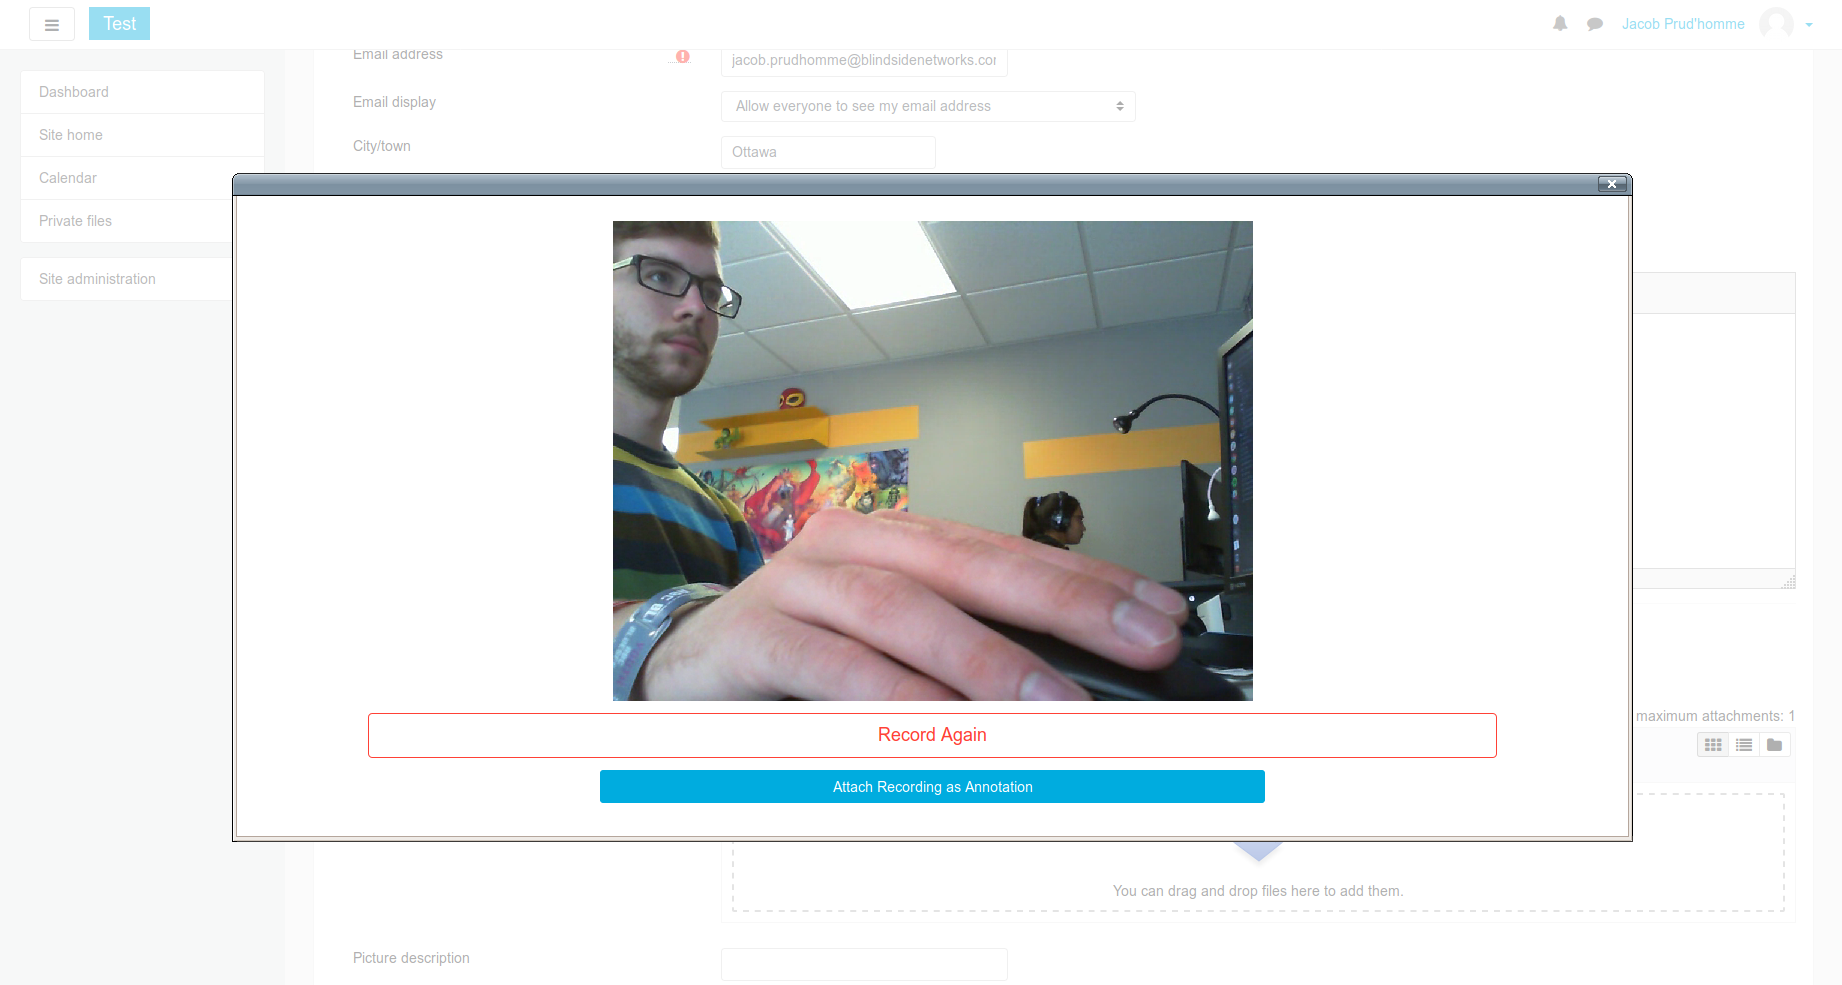
When the recording is finished, the user can play it back to see/hear if it is what they want.
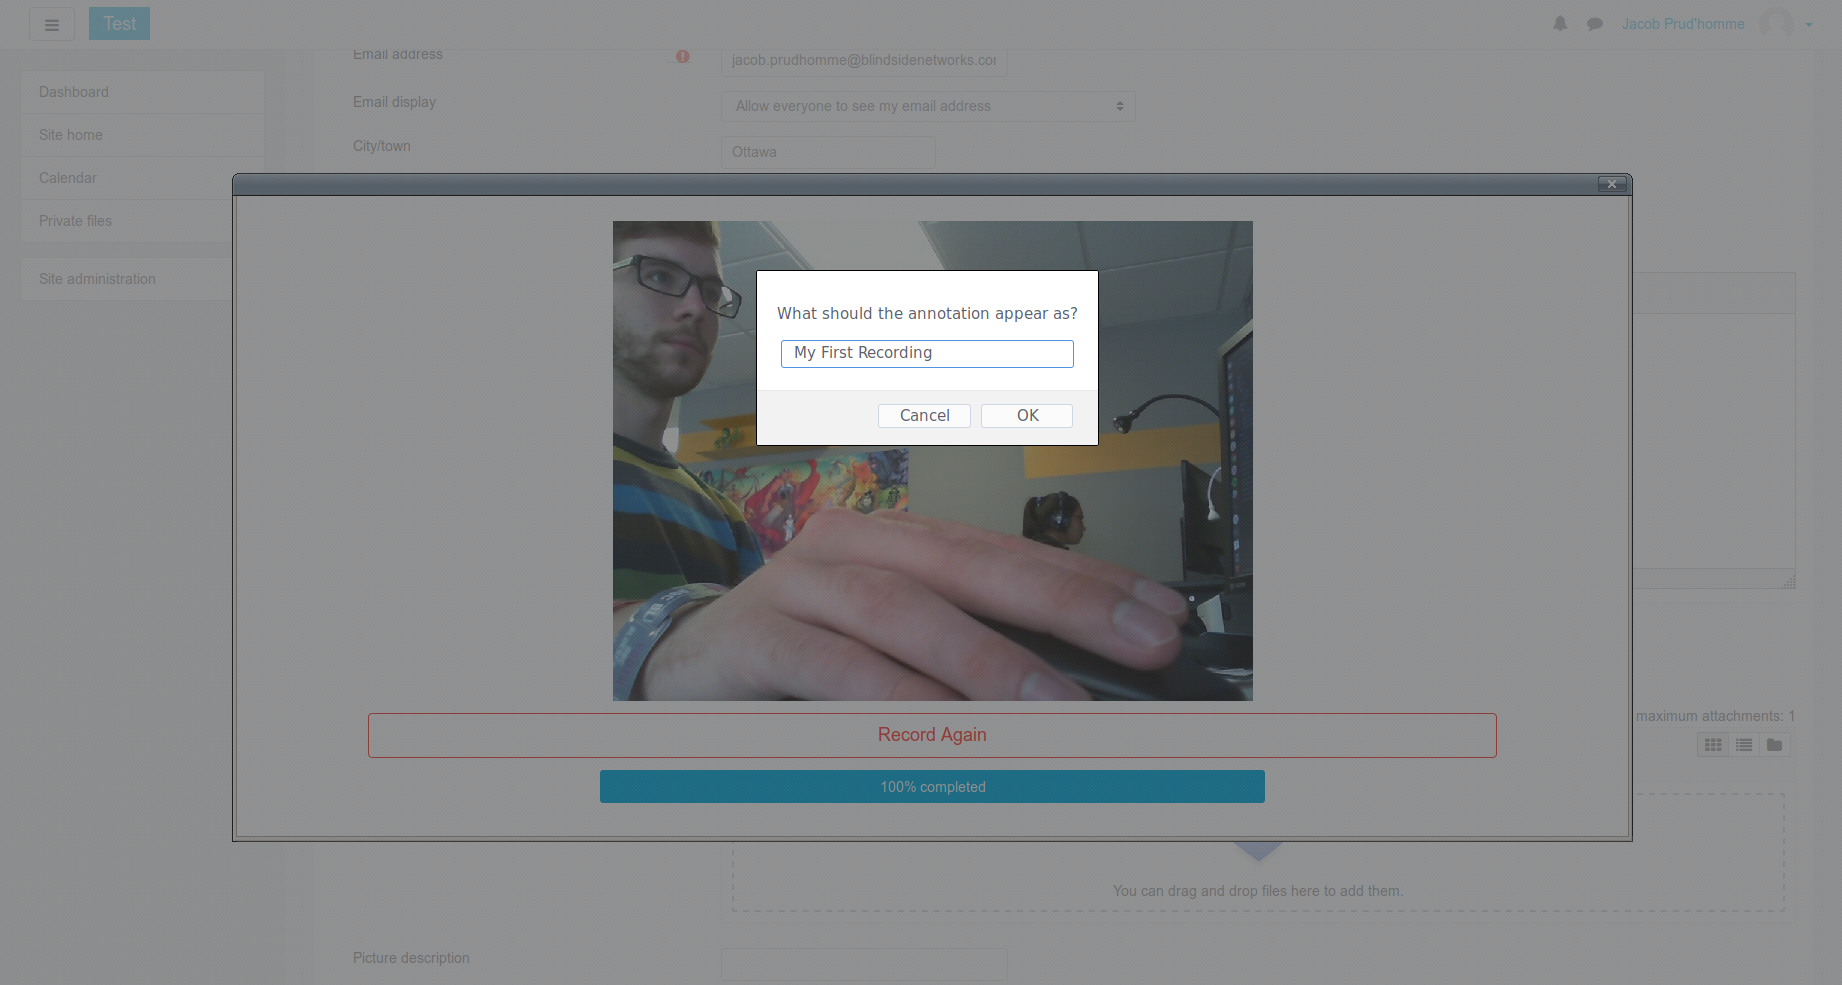
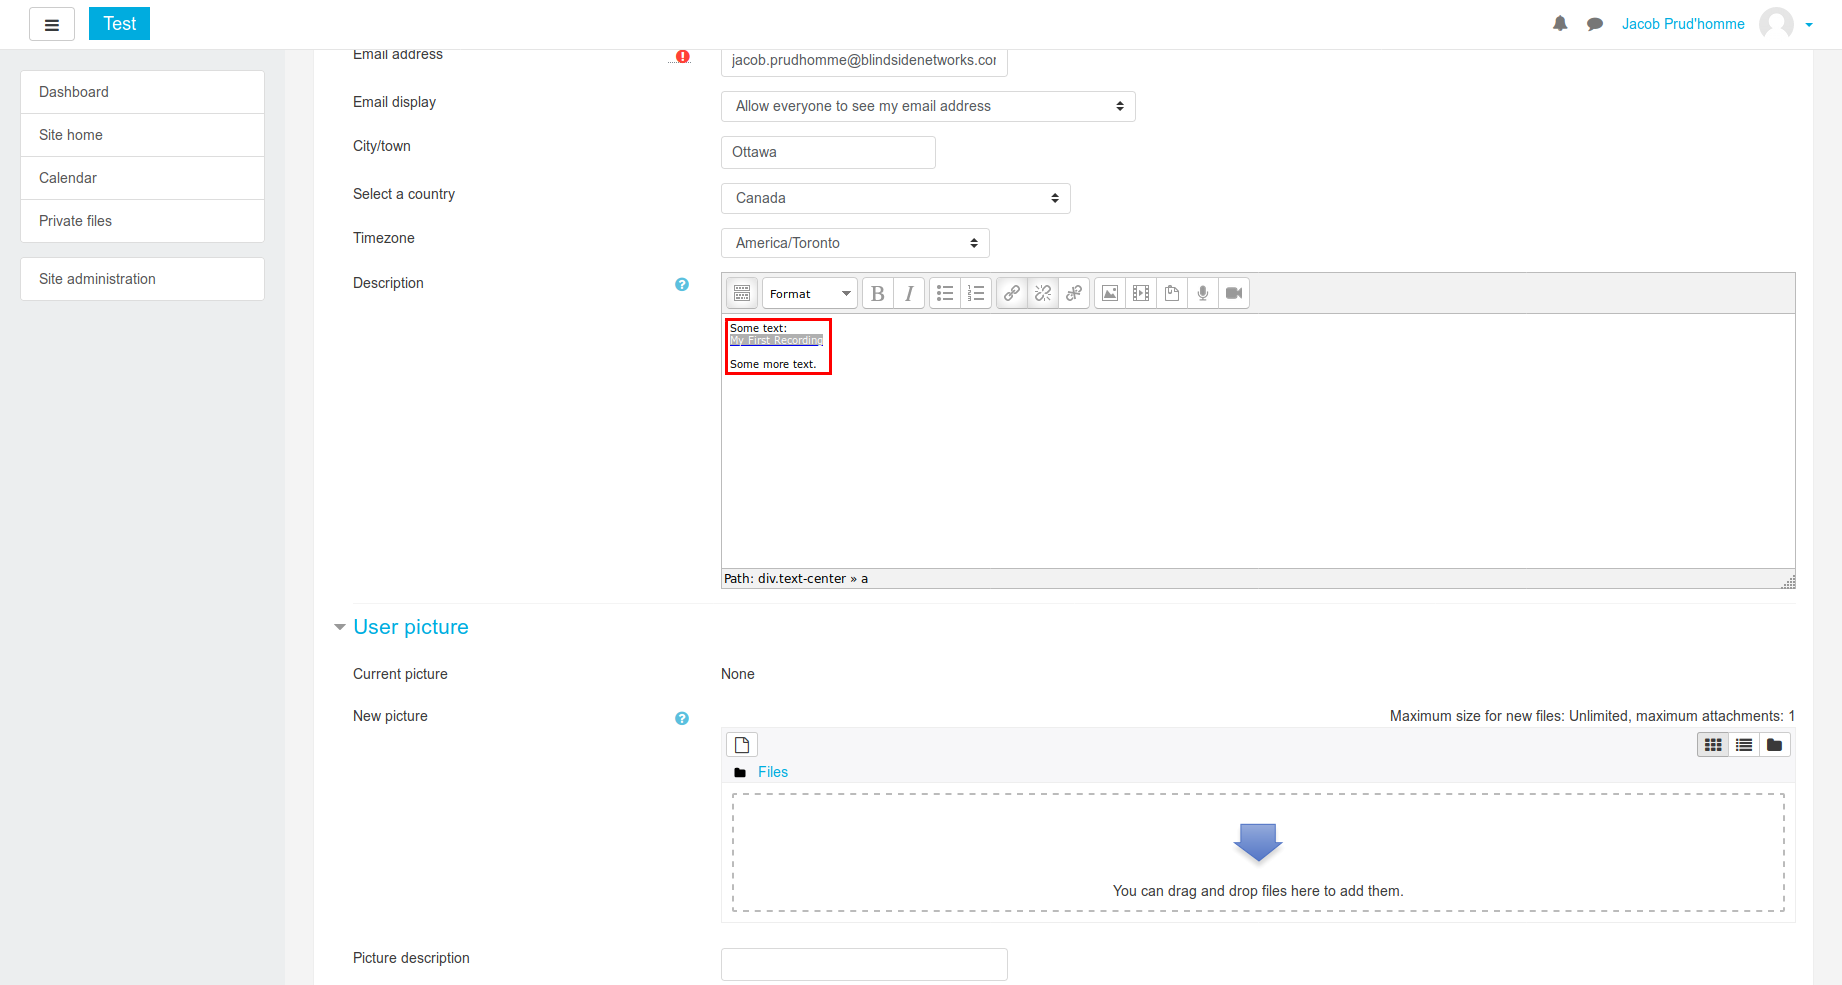
To embed the file, the user must click "Attach Recording as Annotation". A dialog box will pop up asking the user what the link should appear as in the text editor.

After that, the file gets embedded right where the cursor was in the text.

The plugin can be configured during the initial install, and later by navigating to Site administration > Plugins > Text editors > TinyMCE HTML editor > RecordRTC. The administrator can:
More extensive documentation can be found in the wiki page
