
Stripe Payment with SCA and Coupon
Maintained by
DualCube Team
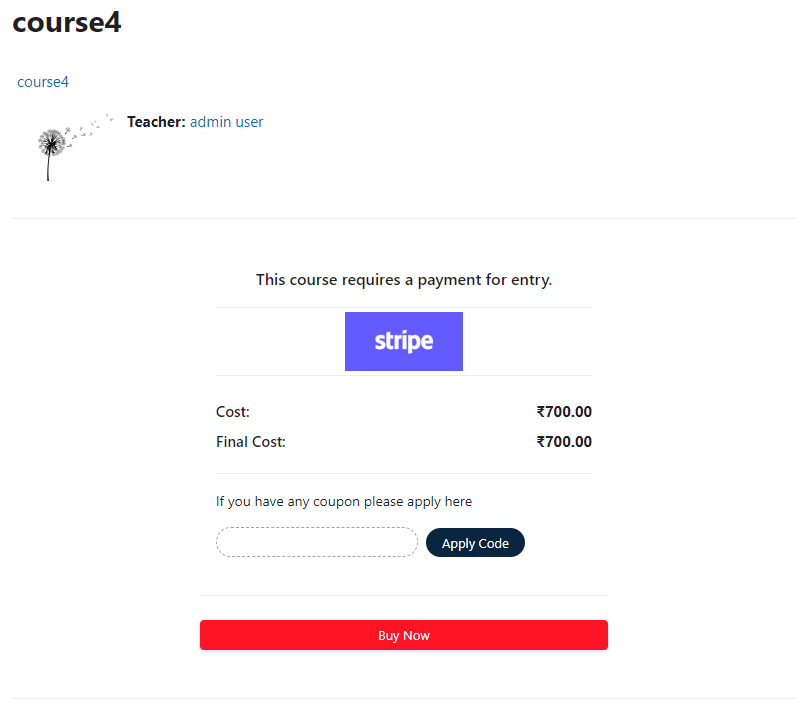
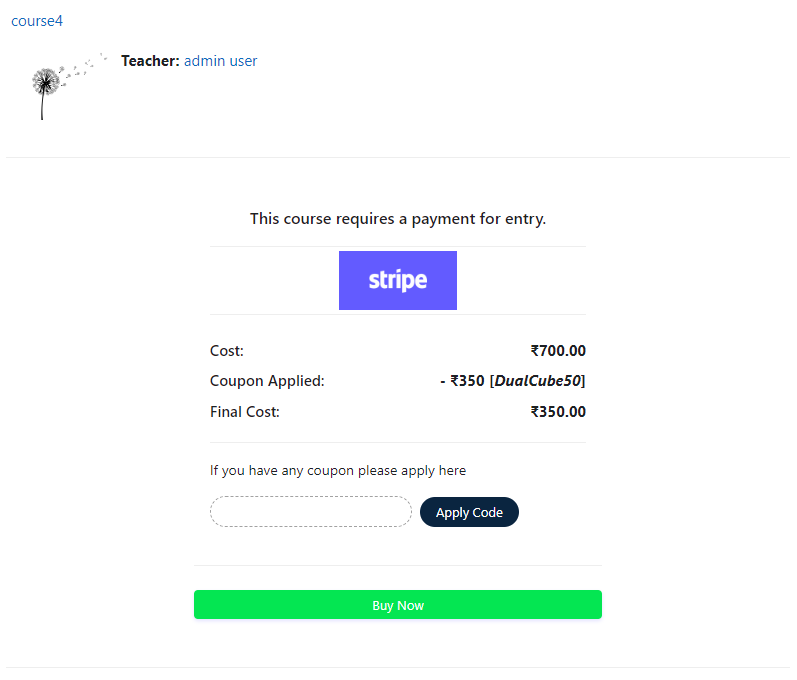
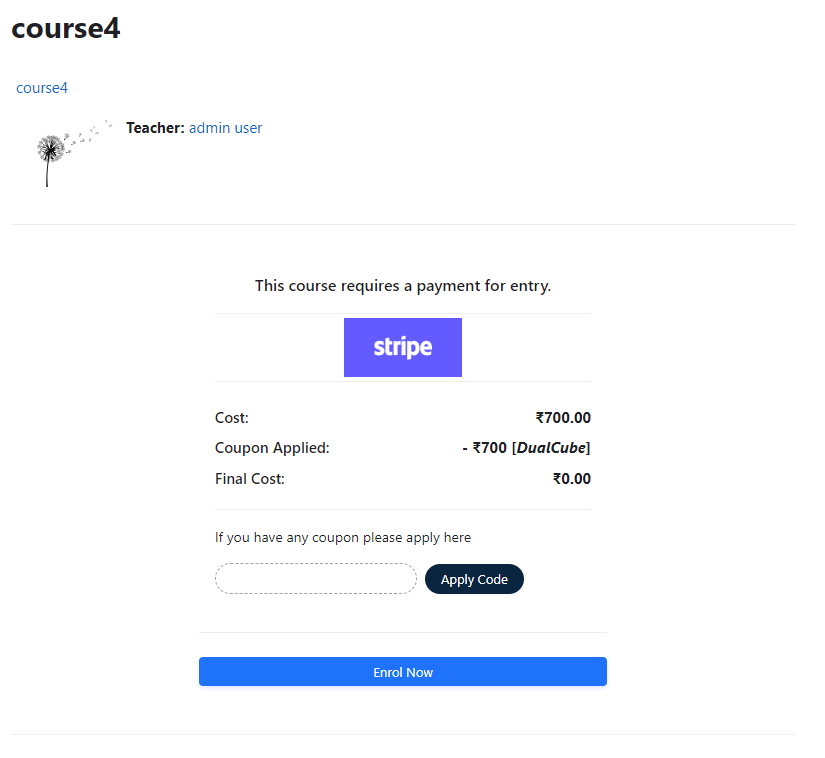
Add a price to your courses and check out quickly with Stripe Payment. Stripe is a user-friendly payment solution that allows for secure transactions. This plugin includes a number of payment processing services, including the ability to accept credit card payments. You can also offer various discounts to learners looking to purchase your courses.
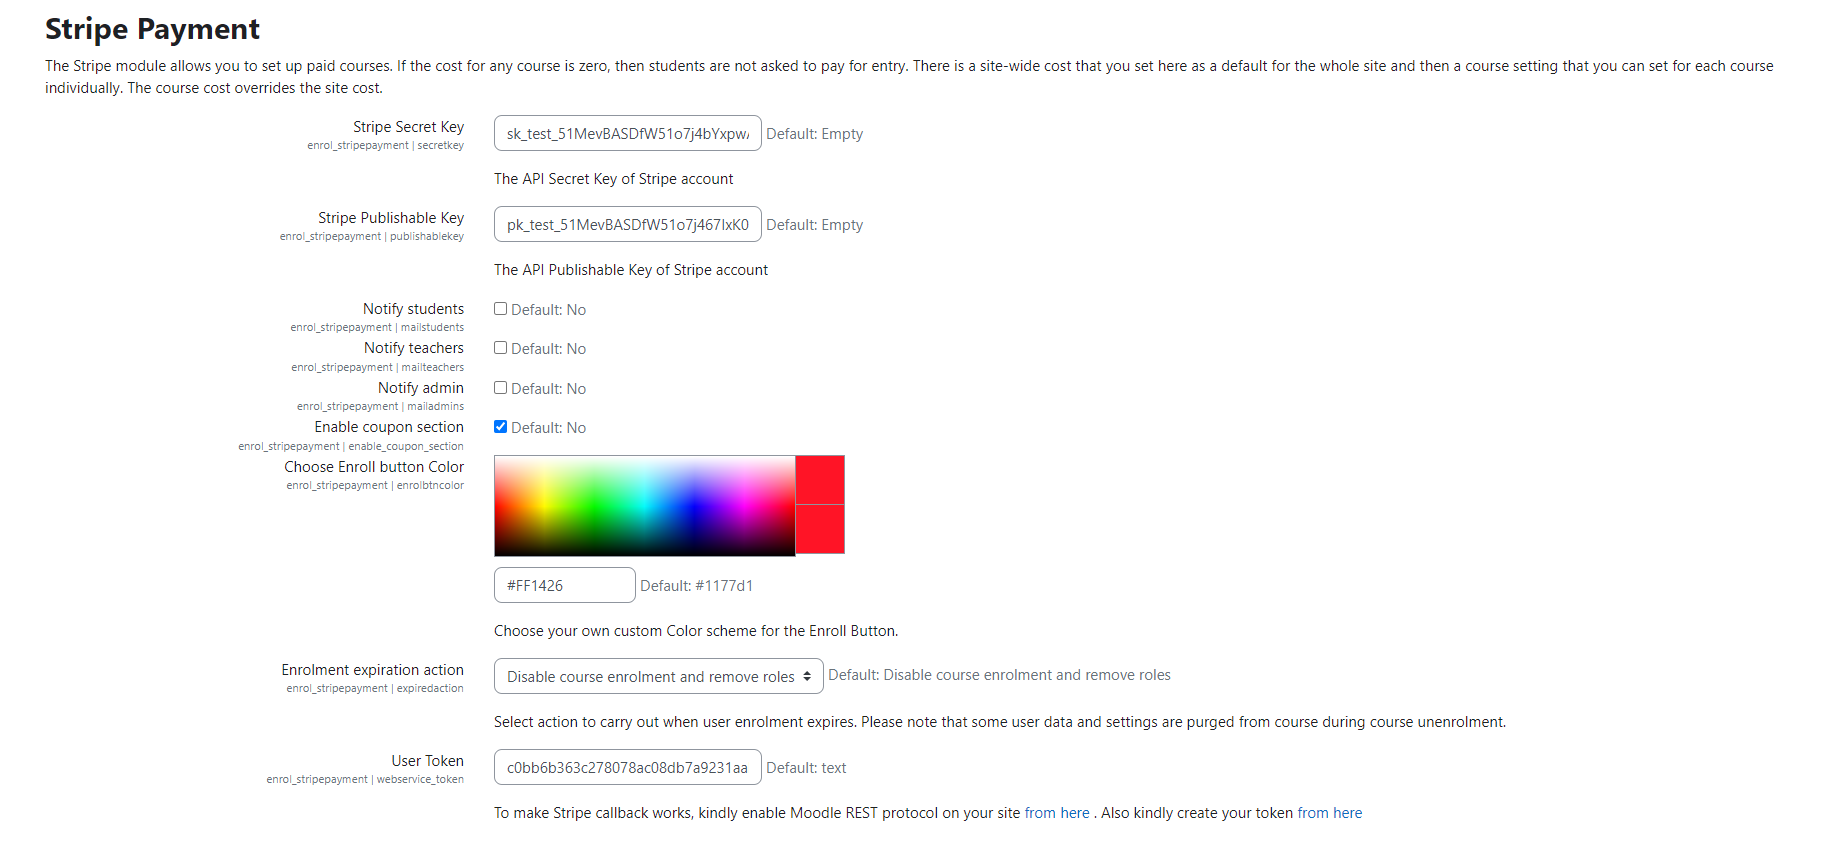
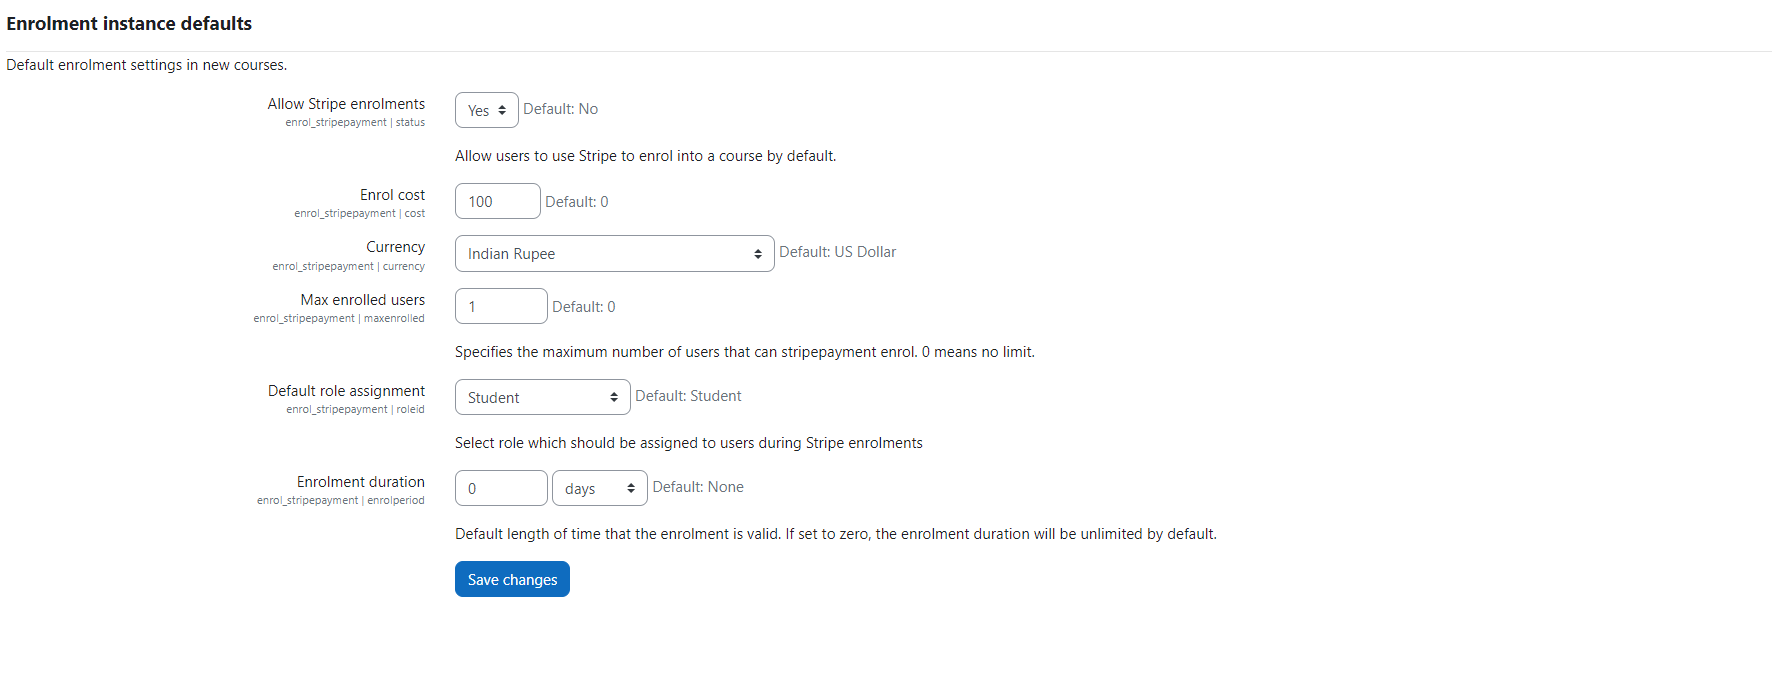
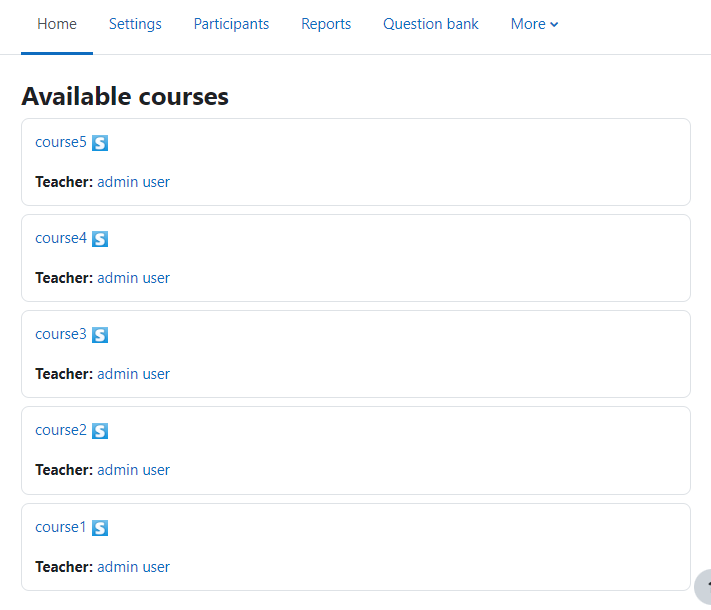
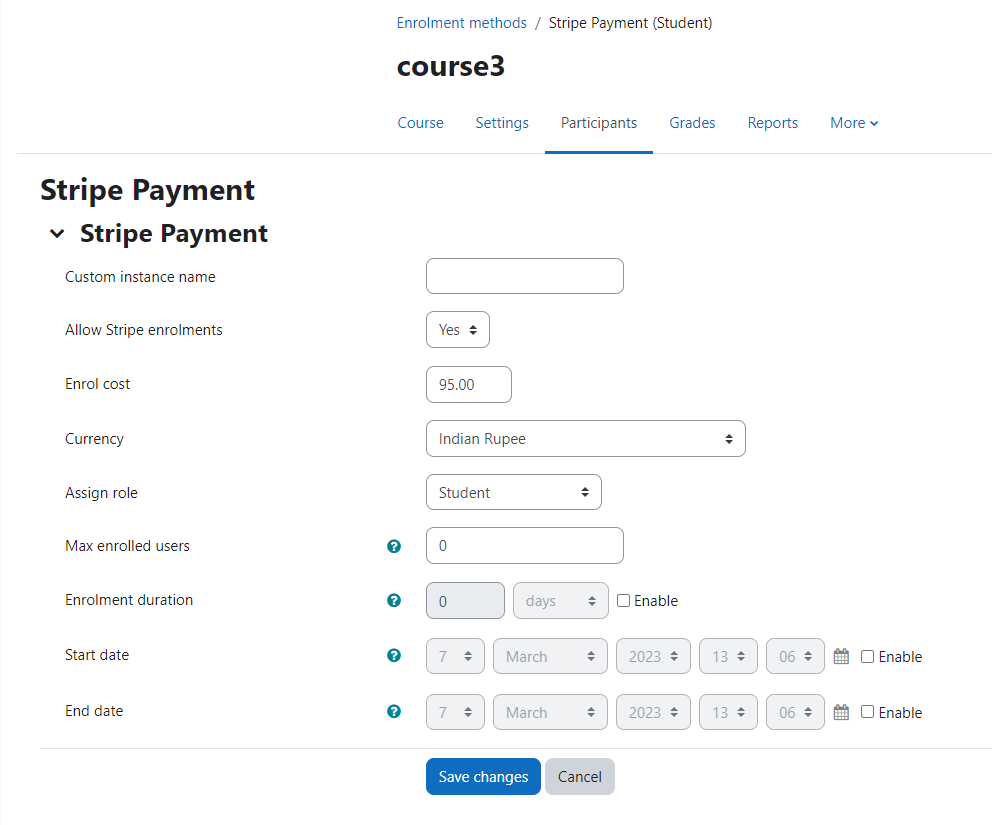
Comments
Product ratings and reviews are coming to Moodle Marketplace. Until then, existing comments remain available to read, but new posts have been disabled.
All the settings are on the Stripe dashboard. Go to your Stripe Dashboard > Billing > Coupons > Create a coupon.
Type in the coupon’s name: it can be anything and for your reference only.
Type in the Coupon’s ID : This is the Coupon code which your students will need to enter if they want to avail the discount.
Choose Coupon Type:
1. Percentage discount : offers % off on the course price
2. Fixed amount discount : Offers a fixed amount off on the course price.
Duration: For duration, when using the value repeating, also specify duration in months as the number of months for which the coupon should repeatedly apply. Otherwise the coupon can be set to apply only to a single invoice or to them all.
Redemption : The max_redemptions and redeem_by values apply to the coupon across every customer you have. For example, you can restrict a coupon to the first 50 customers that use it, or you can make a coupon expire by a certain date. If you do the latter, this only impacts when the coupon can be applied to a customer. If you set a coupon to last forever when used by a customer, but have it expire on January 1st, any customer given that coupon will have that coupon’s discount forever, but no new customers can apply the coupon after January 1st.
If a coupon has a max_redemptions value of 50, it can only be applied among all your customers a total of 50 times, although there’s nothing preventing a single customer from using it multiple times. (You can always use logic on your end to prevent that from occurring.)
Thank you.
Thank you.
Stripe currently does not support the ability to receive INR payouts from Stripe accounts registered outside of India.
Thank you.
I installed this plugin in my model 3.8.1+ moodle version.
am facing some of the issues.
1. Indian Rupees currency is not listed.
2. I have Set Currency US dollar, am getting some error while clicking on payment submit after giving test card details.
error code: 400
Error: As per Indian regulations, export transactions require a customer name and address. More info here: https://stripe.com/docs/india-exports
I'm using test key and secret of stripe and trying payment testing fro test card details.
Regards
Zuheb
The idea is that you can have different enrolment fees for different courses. When you create a custom instance with a name and value, it will be available as an enrolment method with that name.
Thank you.
The idea is that you can have different enrolment fees for different courses. When you create a custom instance with a name and value, it will be available as an enrolment method with that name.
Thank you.
The input field is right above the submit payment button. A text card number is written there. Please check the screenshots that are added to the description. We understand that the area should look more prominent. We will try to fix that with an update. Thank you.
Many thanks
We will add the feature to our next release. I can not confirm a date yet but it will be very soon.
Thank you.
There are two ways :
1. You can use an HTML block for sharing the coupon code.
To add an HTML block:
On your course page, click Turn editing on (green pencil icon Turn editing on (green pencil icon), top right). When editing is on, the Add a block block appears at the bottom of the right column.
In the Add a block block, click Add... and select HTML from the drop-down menu. The HTML block will appear below the other blocks in the right column, named (new HTML block).
At the right of the newly created HTML block, click the Edit icon (Moodle Update icon) and select Configure (new HTML block) block. The Configuring a (new HTML block) block page will open.
In the HTML block title box, enter a name for the block (optional).
In the Content box, use Moodle Editor to add formatted text, images, links or other content, or to enter HTML code, click the HMTL icon (Embed icon) in the editing toolbar. The editor window will switch to a code view where can add any valid HTML code.
Note: We do not recommend embedding video in a block as it is unlikely to fit within the width of the block. Images, however, will always resize in Moodle to fit the available space.
Click the HTML icon again to view a preview in the Content box.
Click Save changes to return to your course page and view.